OpenCV in Processing for Face Filters & Motion Detection
Deeper into Computer Vision
You should have already installed Processing, and the OpenCV Libraries on your computer from the earlier studios. If not, please refer to Studio 2 for those instructions.
Important references and links OpenCv for processing documentationOpenCV for processing github repo
Learning-processing -dan-shiffman (chapter 16 for video processing)
Tips before class:
1) READ THE PSEUDO CODE to understand what is happening in the code (those lines that start with “//”). DO NOT blindly copy paste it.
2) If you actually copy and TYPE the code in your editor, it will be more beneficial than copy and PASTING the code.
3) If you don’t clearly understand what a function or line is doing, ask Jill or Peter or just GOOGLE it; you’ll get wide explanations.
4) Don’t be afraid to change and experiment with the code. A few ways to do that:
a) Change numeric values of a variable (if any)
b) Change colors and use random values (if applicable)
c) Change images
d) Change the operators in conditionals (this may break a code but it’s worth it to understand what’s really happening)
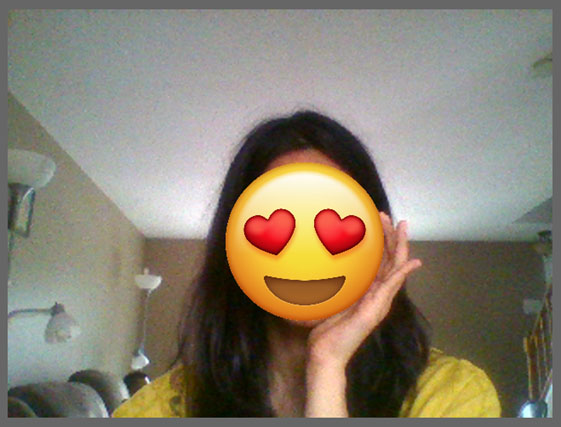
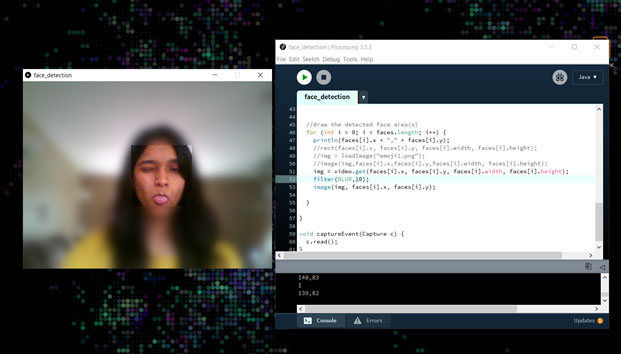
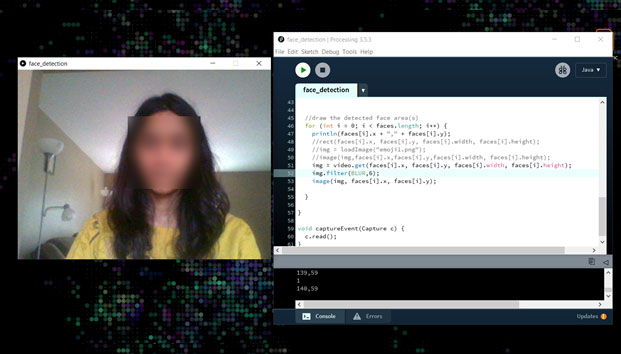
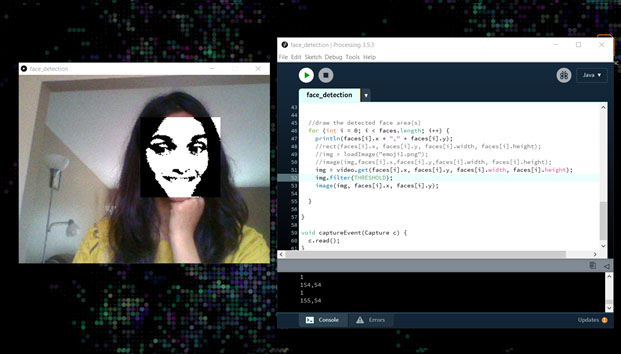
We will go through all the code in class.Exercise 1: Face Detection and Filtering with an emoji, or a flower or a colored rectangle (Like SnapChat filters!) Or blur out your face or give it different effects.
import gab.opencv.*;
import processing.video.*;
import java.awt.*;

PImage img;

 //initialize the webcam video feed with capture object
Capture video;
 //initialize an opencv object
OpenCV opencv;

void setup() {
   //set output width and height
  size(640, 480);
  video = new Capture(this, width/2, height/2);
  opencv = new OpenCV(this, width/2, height/2);

   //detect front face
  opencv.loadCascade(OpenCV.CASCADE_FRONTALFACE);
   //start the video feed
  video.start();
}

void draw() {
   //scaling Increases or decreases the size of a shape by expanding and contracting vertices
  scale(2);
   //takes the captured video and load as image
  opencv.loadImage(video);

   //draw the video on the canvas
  image(video, 0, 0 );

  noFill();
  stroke(0, 255, 0);
  strokeWeight(3);

   //detect anything resembling a FRONTALFACE
  Rectangle[] faces = opencv.detect();
  println(faces.length);

   //draw the detected face area(s)
  for (int i = 0; i < faces.length; i++) {
    println(faces[i].x + "," + faces[i].y);
    img = loadImage("emoji1.png");
    image(img,faces[i].x,faces[i].y,faces[i].width, faces[i].height);
    }

   //or use the following for loop to get different effects to your face
  for (int i = 0; i < faces.length; i++) {
    img = video.get(faces[i].x, faces[i].y, faces[i].width, faces[i].height);
    img.filter(THRESHOLD);
    image(img, faces[i].x, faces[i].y);

  }


}

void captureEvent(Capture c) {
  c.read();
}
Exercise 2: Background Subtraction Want to detect motion and display a trail of your motion? Try this!
import gab.opencv.*;
import processing.vid
 //Initiate capture and opencv objects
Capture cam;
OpenCV opencv;

void setup() {
  size(640, 480);
  cam = new Capture(this, 640, 480);
  cam.start();

  opencv = new OpenCV(this, 640, 480);
   // opencv.capture(640, 480);
   //opencv function to start background subtraction
  opencv.startBackgroundSubtraction(1, 3, 0.1);

}

void draw() {
  if(cam.available()){
    cam.read();
  }

  background(0);
   //image(cam, 0, 0);
  opencv.loadImage(cam);

  opencv.updateBackground();
  opencv.dilate();
   // Erosion is a morphological operation (i.e. it affects the shape) often used to close holes in contours
  opencv.erode();

  fill(150);
  stroke(255, 140, 0);
  strokeWeight(2);
  for (Contour contour : opencv.findContours()) {
    contour.draw();
  }
}

void movieEvent(Capture m) {
  m.read();
}